March 13th, 2013 |
By Colin |
Posted in
How-To,
Readybooks
Whether you are a first-timer or seasoned in Photobook making, we are sure that there will be something for everyone in our range of Readybooks. Readybooks are Photobook templates, which are professionally-designed by our designers in a wide range of categories to suit different needs and requirements.
Benefits of Using Readybooks
- Ease of Use. Not only are they easy to use, but you will save a lot of time by simply uploading your photos and drag & drop those photos in the Readybooks.
- Full personalization options. Although they are ready-made templates, you still can personalize them according to your requirements.
- Professionally-designed. There is a story behind every Readybook, and we are sure you will love each and every one of them.
- FREE! We are not charging you a dime for these great Readybooks which has taken us hours to conceptualize & design.
Don’t settle for a mediocre design – use our Readybooks to create that sleek-looking professionally-designed Photobook. There are two ways to use our Readybooks – (1) Download the Readybooks & use it with the Photobook Designer OR (2) Use the Readybooks with the Online Designer.
DOWNLOADABLE READYBOOKS (to be used with the Photobook Designer)
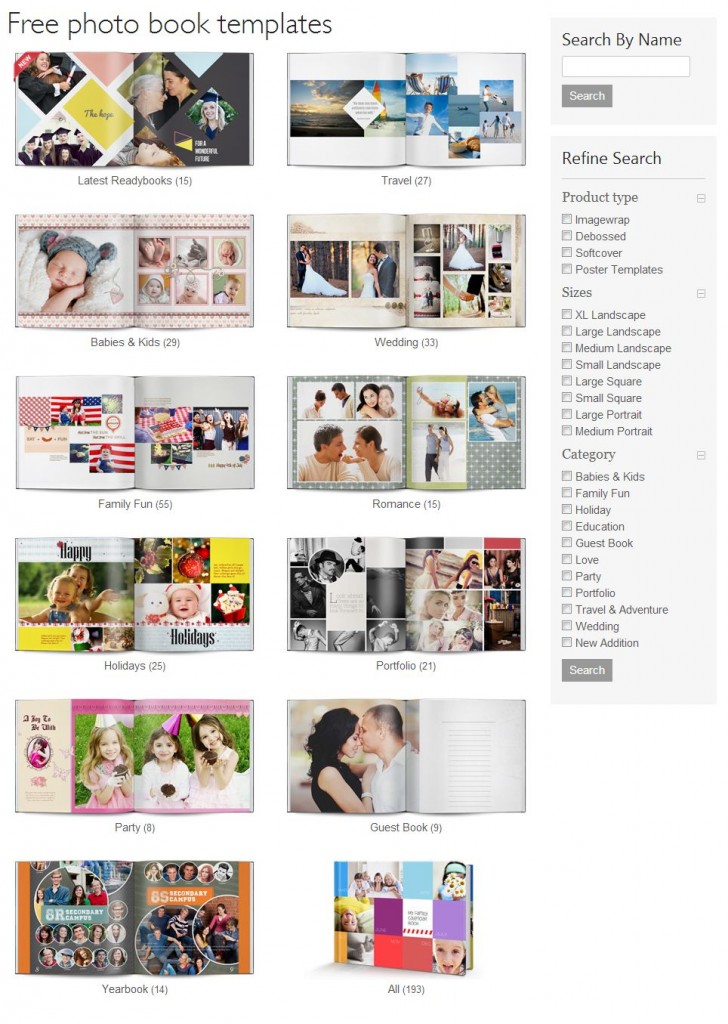
STEP 1 : Choose your Readybook.
Go to the Readybook template page and select from the range of categories (refer to the below image). At time of writing, there are 209 Readybook templates available for download, available in various photobook types & sizes. (only for Photobook Worldwide customers)
STEP 2 : Getting started.
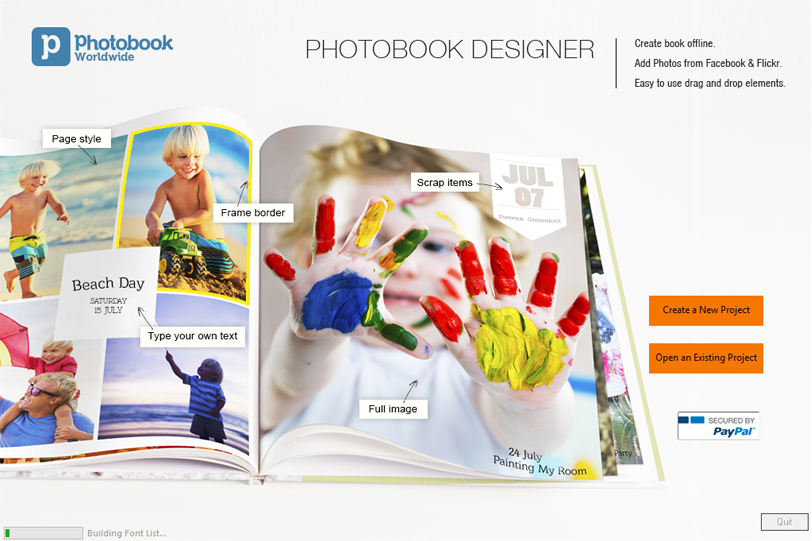
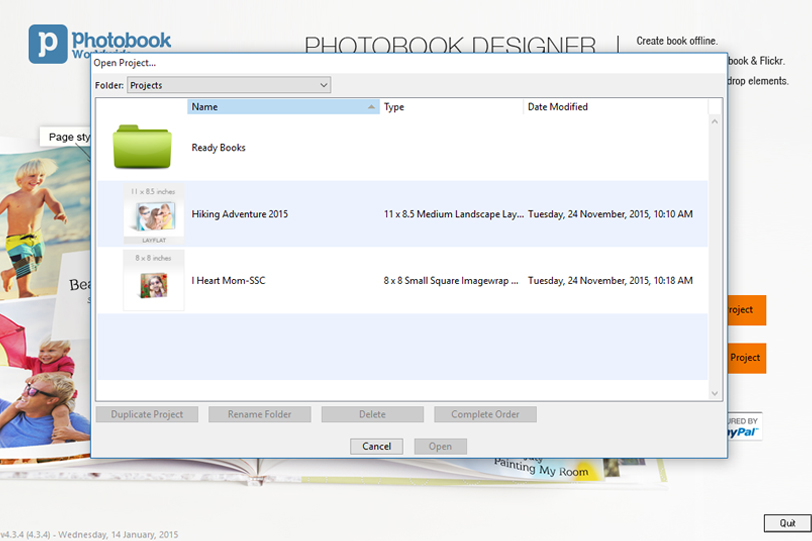
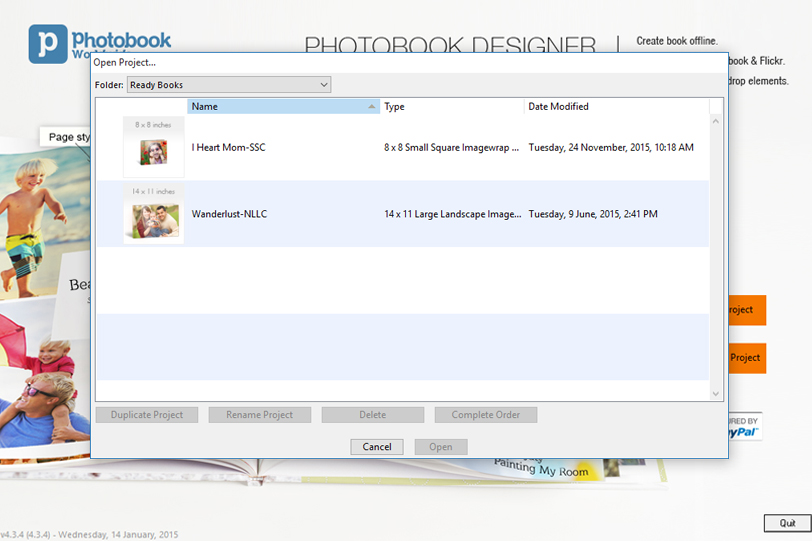
After you’ve downloaded your Readybook, you will need to double-click on the file(which is an executable file) and it will unzip the files into your computer. You will then need to run the Photobook Designer software and select “Open an Existing Project”. This will open to a list of projects you have previously saved as well as a Readybook folder. Inside that Readybook folder, you will find all of the Readybooks you have downloaded. Select the Readybook to open it.
Step 3 : Using the Readybook.
Once your Readybook has loaded, simply drag and drop photos into the allotted empty picture boxes as desired. After you have completed your design, order your book and await its arrival. It’s that simple!
ONLINE READYBOOK (available on our website)
Step 1 : Choose your Readybook.
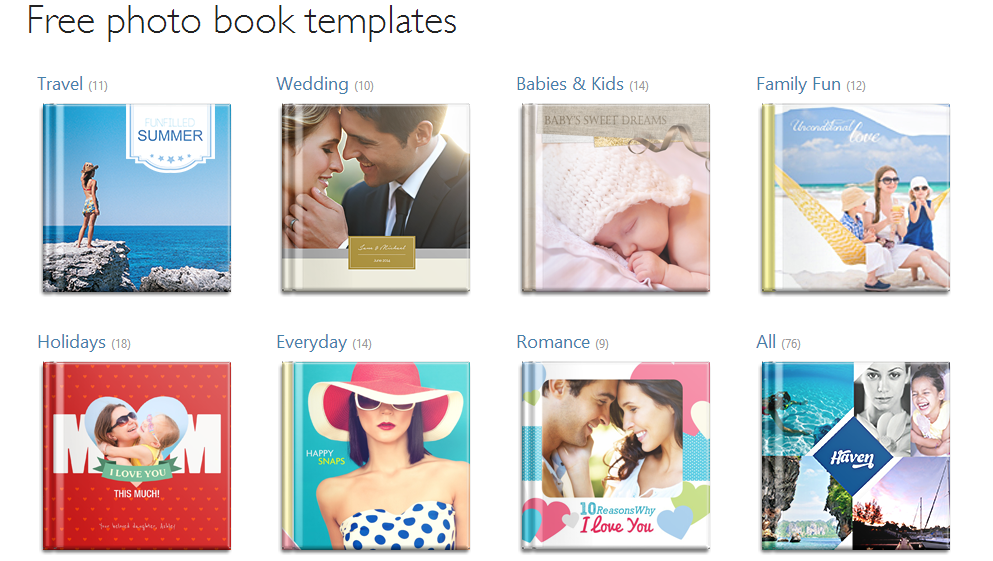
Go to the Online Readybook page and select from the range of categories (refer to the below image). At time of writing, there are 76 Readybook templates available for download, available in various Photobook types & sizes. (only for Photobook Worldwide customers)
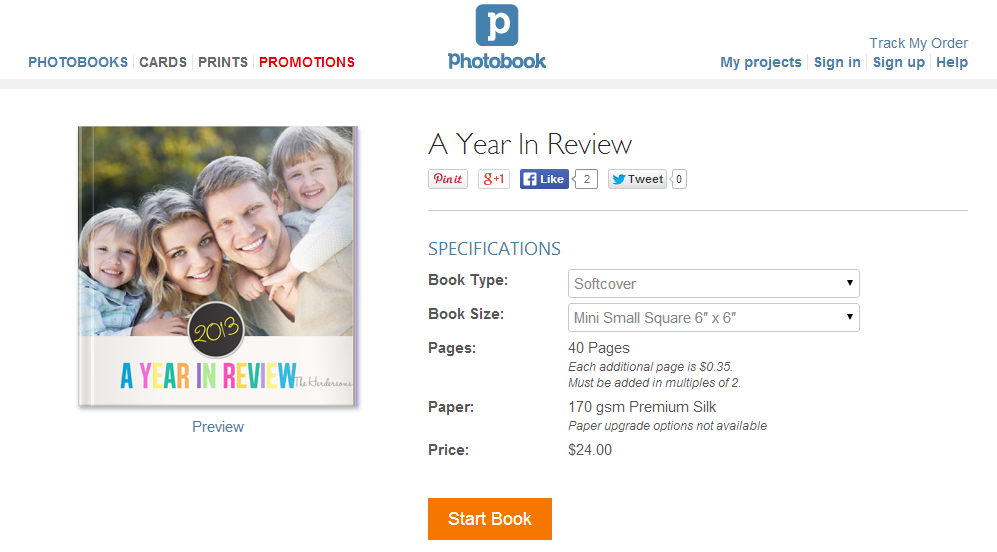
Step 2 : Using The Readybook
Once you’ve selected the design of your choice, select the type of book and size and then you just need to click on the “Create Now” button. After you’ve completed designing the Photobook, you will just need to complete ordering your book by keying in your details, make the payment (or insert your voucher code, if you have any) and wait for the arrival of your Photobook! Easy peasy!
We update the Readybook collection faithfully – so do visit our website often to check out the latest and newest Readybooks!
Happy Photobooking!