/ How-To
Better Planning For Your Photobook
By Soff on
Wednesday, 1st July |
Comments

Crafting a Photo Book, whatever the purpose may be, can prove to be a tad overwhelming for some, particularly when you’ve set your sights on making sure your memories get the proper TLC it deserves. To help you make the most out of your Photobooking experience, take notes as we give you some helpful tips on better planning for your Photobook.
 Get a better grip and a greater overview of your project by breaking up your tasks into smaller, more manageable pieces. This allows you to get a clearer picture of what needs to be done and everything within that scope.
Think of it more as writing down a to-do list. This gives you a better perspective on your overall workload and what you need to get done next; but it’s also important to note that this “to-do” list ought to be flexible enough for you to work around the points as and when necessary. This is because like design, what you want for your Photobook is subjective, and would probably change through the process.
 Ask yourself, how will you present your content? Consider the purpose of your Readybook and determine if it ought to be based on a timeline, event-based or perhaps both. For example, a timeline flow is best for travel and vacation albums, event-based or categorized sections are ideal for yearbooks whereas weddings are a good instance for both.
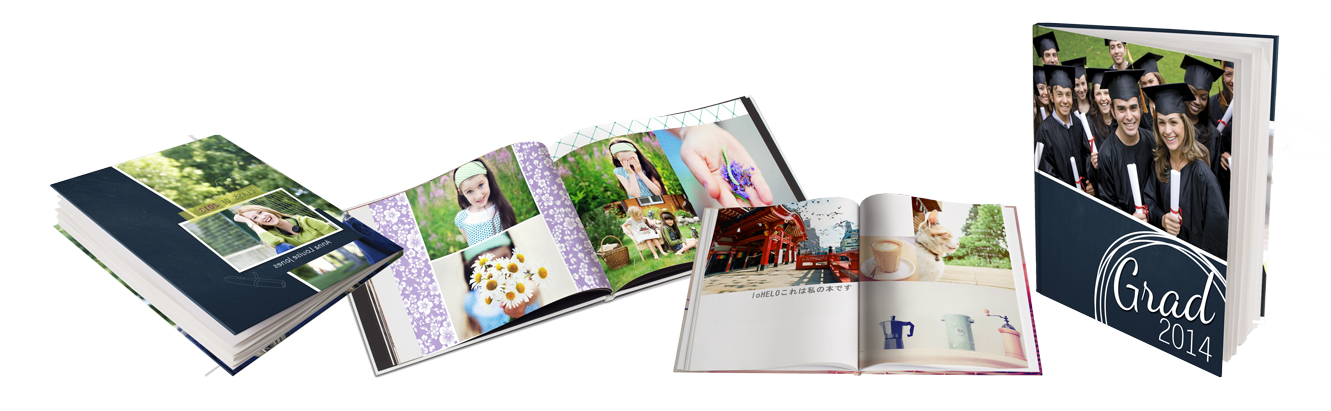
Choosing the right theme not only makes your Photo Book look amazing, it also helps you arrange your content by further providing context to your arrangement.
See below for our say on content.
 Now comes what perhaps is the most important phase through the entire Photobooking process. Most of the work happens in this phase. Start filtering out the photos you want to incorporate into the album, arranging them accordingly to how you want to present it.
Look back to your collection and pre-select your photos, making sure to exclude out repetitive shots. Orchestrate your photos in harmony with how it will show in your album’s sequence; this is to take advantage of our Photobook Designer Auto-Flow feature later on during the actual creation process.
> There’s no need to include each and every photo taken.
> Avoid poorly composed photographs.
A good selection and arrangement of photos in a 20-page album looks sensationally better than a 40-pager of irregular photos. Just remember like any good book, you’re looking to tell a story, so make it easy to read.
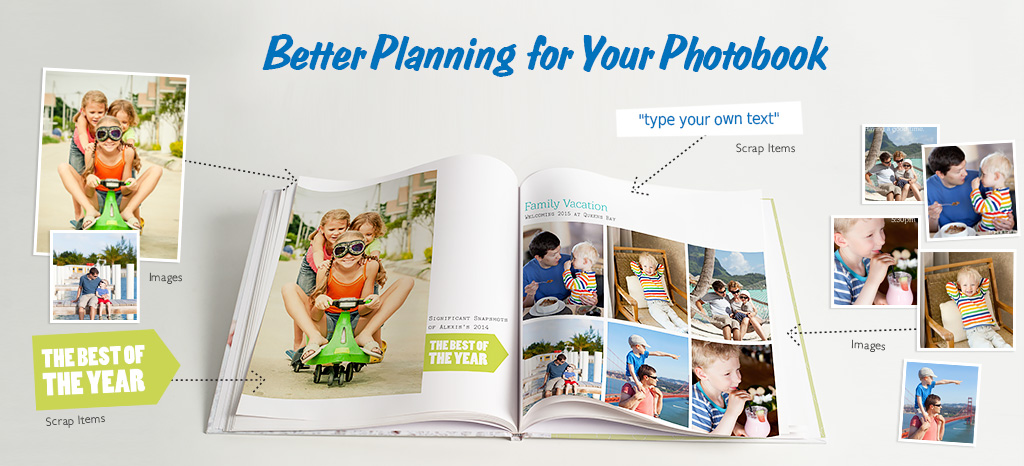
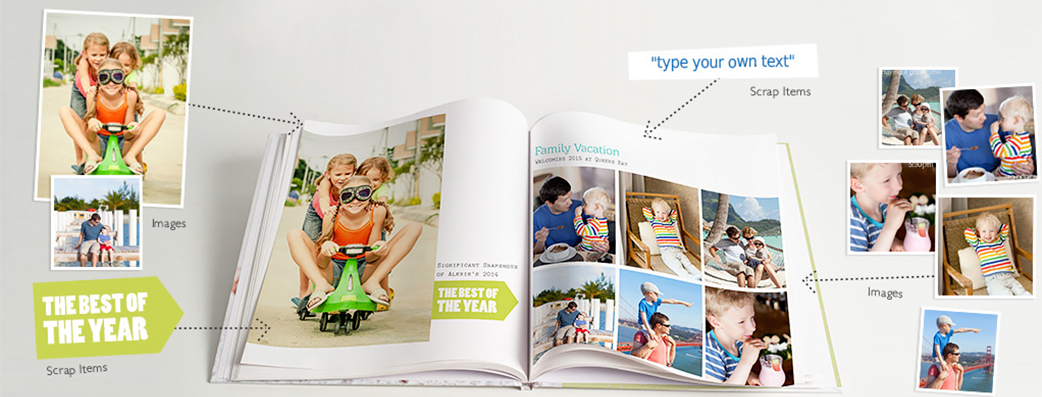
 Let’s talk framework. Draft out a floorplan for your book, a skeleton if you will, on how you would want your content to be arranged. Progressing on from the above topic, set your image order in the way you would tell a story.
What and how do you want to narrate your adventures? What happened first? Then what happened? What’s interesting there? Work together with your selected theme, finding a place for everything – photos, text, embellishments, and more.
Speaking of text, once you’ve put everything in, you’ll now see a better picture on your creation. This lends a better perspective to most as you can now adjust/figure out text and captions to put into your album, giving your Photobook and story better context.
Captions aren’t necessary, but it can prove valuable when it offers something the photo doesn’t have; on that note, don’t state the obvious from what can already be seen in the photo. Dates, location, names, and backstories can help spice up your album and make it interesting to open.
It’s not a bad idea to break your content into different sections, regardless of flow style (timeline or event-based). This gives your narration a moment to breathe without breaking story continuity, and helps space out different events.
 Often overlooked and underestimated, proofreading is a very important aspect of any creative (both copy and visual) work. Here, you’ll be looking into any oversights, typo’s, and such once you’re done with your project. Check to see if any image placeholders were left out, anything out of place, arrangement mistakes and so forth.
It’s good to take a step back from your project, forget about it and then come back to review it again. This gives you a fresh perspective on things you might’ve missed the first time around. Alternatively you could let someone else have a look, and have a different point of view on your work.
*Our Photobook Designer also helps you out on this by showing you pop-up warnings at the end of the designing process.
CLICK HERE and we’ll direct you to our library of Photobook Readybooks, where you can find a super wide range of themes and designs for whatever reason and occasion you would ever need. Happy Photobooking!