By Colin on
March 22nd, 2013 with
18 Comments
Our Photobook Designer software has tons to offer any intermediate to experienced photo book designer.
DID YOU KNOW….
Sort by Folder Name
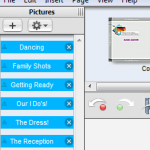
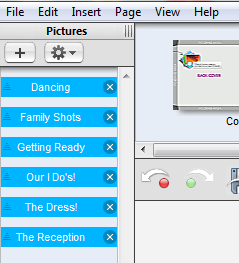
The Photobook Designer software allows you to sort your photos by folder name. After you’ve uploaded your images to the software, locate the Pictures toolbar on the left hand side of the software, and then click on the Manage Pictures button > Categorize > By Folder Name. Your photos will be organized in their respective folders and sorted with a blue bar showing each folder name. This can be particularly helpful when creating projects with hundreds of photos such as wedding books or family history books.
*Additional tip: You can also collapse the blue folder bars to work on one folder at a time and avoid being overwhelmed by too many images.
Custom Page Styles
You can create your very own custom designed Page Styles. The software showcases dozens of page styles but you’ve also have the option to create your own page style, save it and use it again!
After you have designed your custom Page Style, go to the lower toolbar and click on the Page Styles tab. After you have done that, click on the button in the lower right hand corner (that looks like a gear). From there, you will see three different options; Save Left Page as Page Style/Save Right Page as Page Style/Save Spread as Page Style. Choose the one that suits you best and name it accordingly. Your custom Page Style is now saved!

Drop Shadows
Adding a Drop Shadow to your photos can really give your photo book a modern and three dimensional vibe. To add a Drop Shadow, select the photo and go to the Inspector toolbar on the right hand side of the software. Under the first tab on the left you will see a Drop Shadow section. You will be able to adjust the settings as you see fit. Pay close special attention to the Offset and Opacity settings as this can really make or break your book design.

Until next time, happy bookmaking!