Whether you are a first-timer or seasoned in Photobook making, we are sure that there will be something for everyone in our range of Readybooks. Readybooks are Photobook templates, which are professionally-designed by our designers in a wide range of categories to suit different needs and requirements.
Benefits of Using Readybooks
- Ease of Use. Not only are they easy to use, but you will save a lot of time by simply uploading your photos and drag & drop those photos in the Readybooks.
- Full personalization options. Although they are ready-made templates, you still can personalize them according to your requirements.
- Professionally-designed. There is a story behind every Readybook, and we are sure you will love each and every one of them.
- FREE! We are not charging you a dime for these great Readybooks which has taken us hours to conceptualize & design.
Don’t settle for a mediocre design – use our Readybooks to create that sleek-looking professionally-designed Photobook. There are two ways to use our Readybooks – (1) Download the Readybooks & use it with the Photobook Designer OR (2) Use the Readybooks with the Online Designer.
DOWNLOADABLE READYBOOKS (to be used with the Photobook Designer)
STEP 1 : Choose your Readybook.
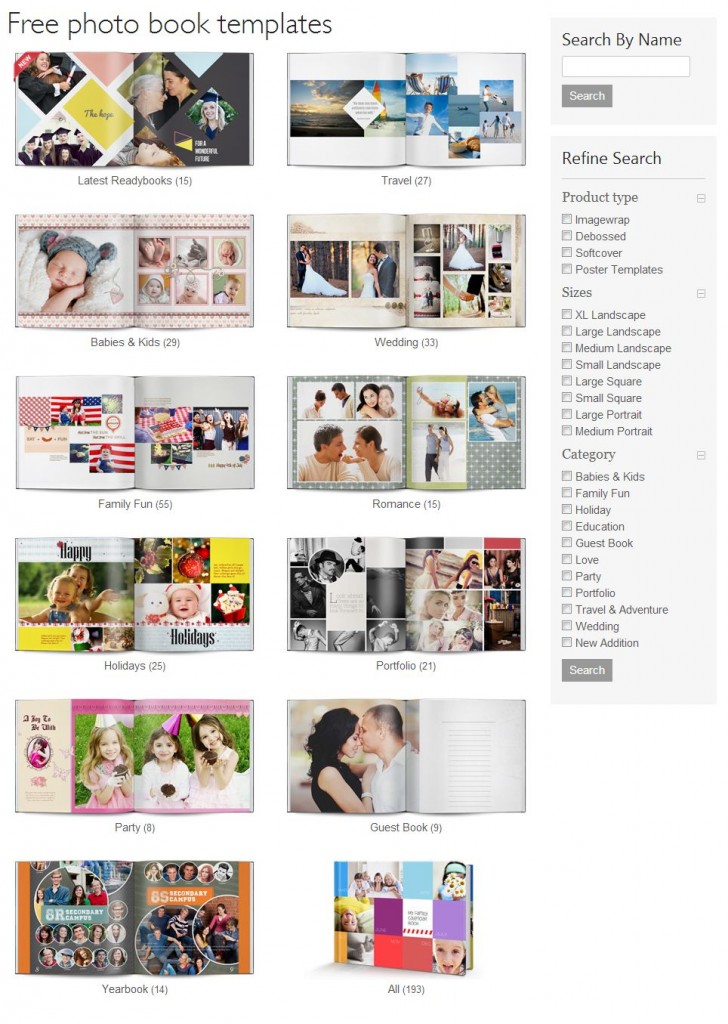
Go to the Readybook template page and select from the range of categories (refer to the below image). At time of writing, there are 209 Readybook templates available for download, available in various photobook types & sizes. (only for Photobook Worldwide customers)
STEP 2 : Getting started.
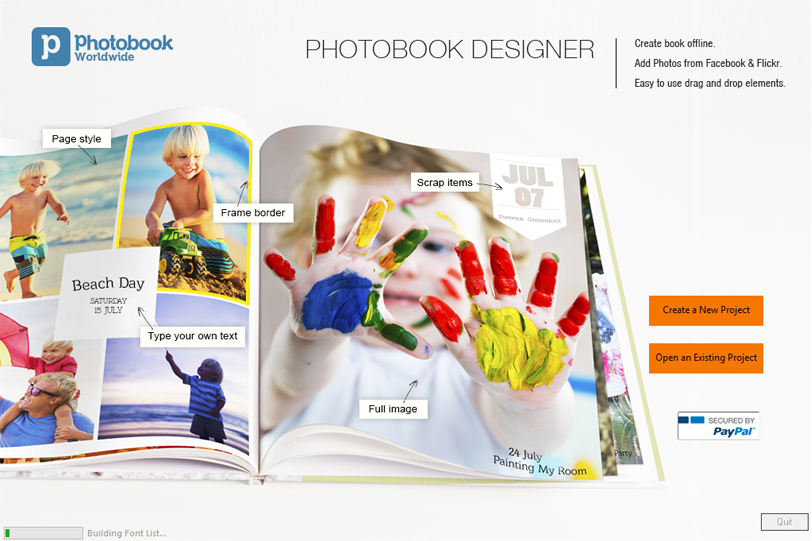
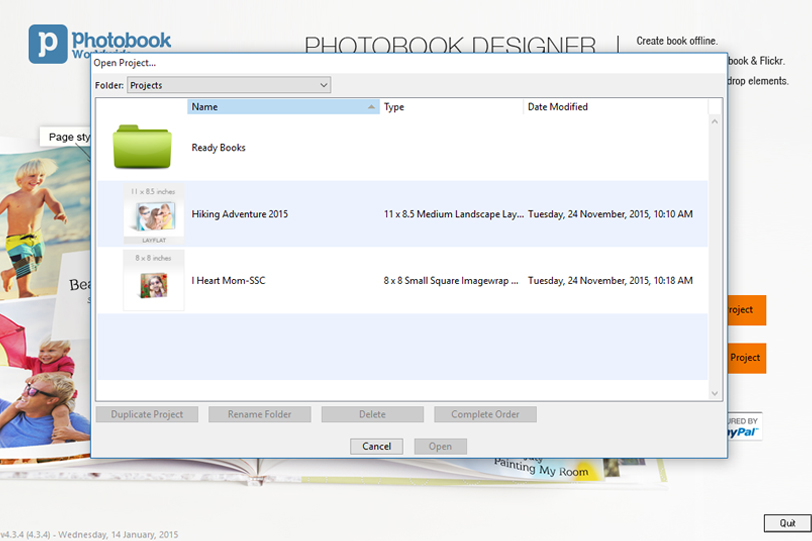
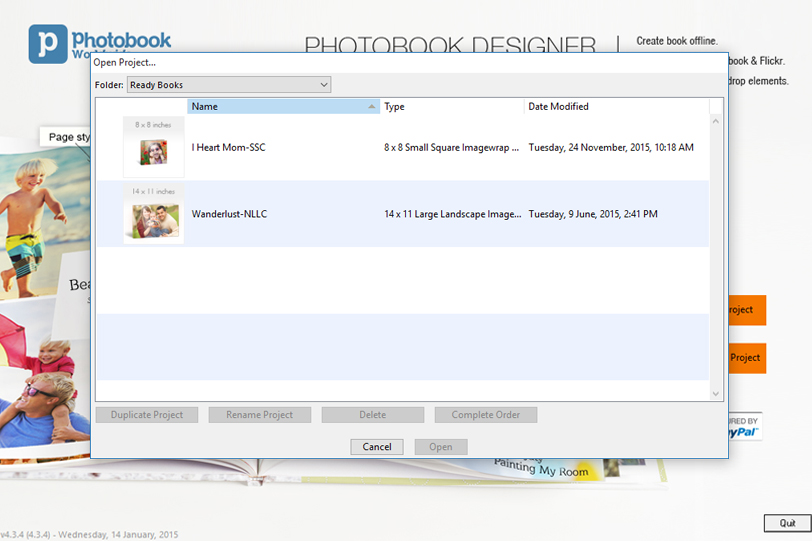
After you’ve downloaded your Readybook, you will need to double-click on the file(which is an executable file) and it will unzip the files into your computer. You will then need to run the Photobook Designer software and select “Open an Existing Project”. This will open to a list of projects you have previously saved as well as a Readybook folder. Inside that Readybook folder, you will find all of the Readybooks you have downloaded. Select the Readybook to open it.
Step 3 : Using the Readybook.
Once your Readybook has loaded, simply drag and drop photos into the allotted empty picture boxes as desired. After you have completed your design, order your book and await its arrival. It’s that simple!
ONLINE READYBOOK (available on our website)
Step 1 : Choose your Readybook.
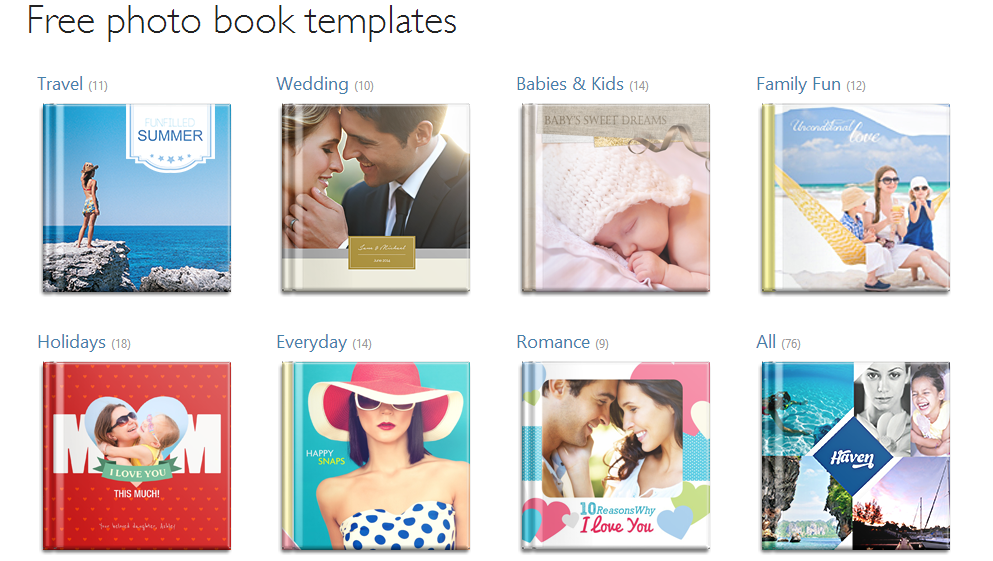
Go to the Online Readybook page and select from the range of categories (refer to the below image). At time of writing, there are 76 Readybook templates available for download, available in various Photobook types & sizes. (only for Photobook Worldwide customers)
Step 2 : Using The Readybook
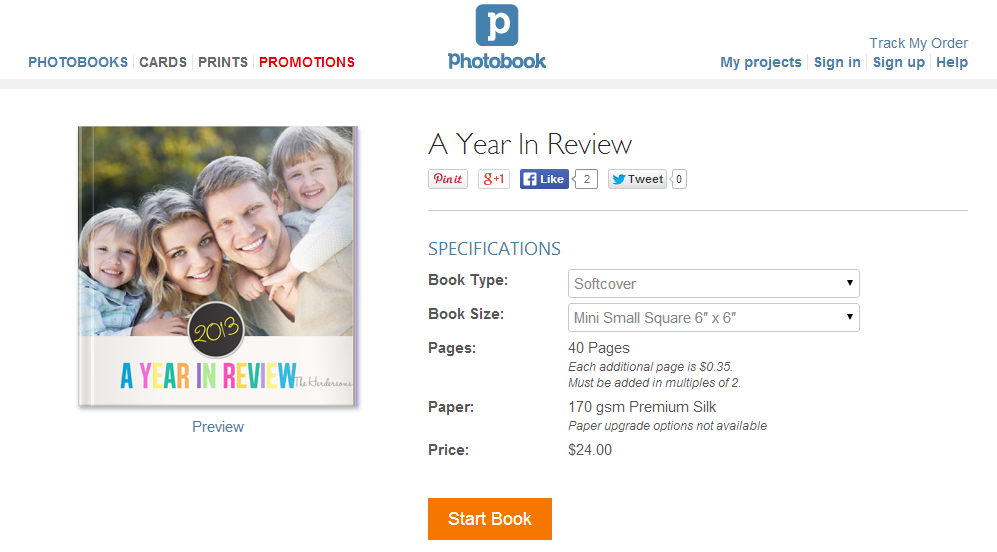
Once you’ve selected the design of your choice, select the type of book and size and then you just need to click on the “Create Now” button. After you’ve completed designing the Photobook, you will just need to complete ordering your book by keying in your details, make the payment (or insert your voucher code, if you have any) and wait for the arrival of your Photobook! Easy peasy!
We update the Readybook collection faithfully – so do visit our website often to check out the latest and newest Readybooks!
Happy Photobooking!
SUBSCRIBE to us now and get a FREE 6" x 6" Mini Softcover Photobook (40 pages) or 4R Prints (100 Pcs)!
If you require further assistance, please contact our Support Team at support[at]photobookworldwide.com (Please replace the [at] with @)
Comments
9 Responses to “Using Readybooks – Back to Basics”


Pingback: 75% OFF 40 Page Personalized Imagewrap Hardcover Photobook (3 Sizes) | Singapore Deals and sales
Hi. I downloaded the ‘Ever Greens’ readybook which comes up when I did a search for Debossed + Large Square. However, when I opened it in Photobook Designer, it shows as Imagewrap. How can I changed it to Debossed since my voucher is for Debossed and not Imagewrap.
Hi Tami,
After you open the Readybook go to the navigation bar and click on “Change Product” (which is the 7th icon on the navigation bar) and select “Large Square Debossed Hardcover”. Once you have changed your product, you will be able to see that the product type on the top screen has changed to “11×11 Large Square Debossed Hardcover”. Please note that the first page marked as “Front” is the window image for your Photobook. You can replace the existing image with your image of choice.
Happy bookmaking!
I am looking to use a readybook. Can I choose different pages within the readybook to meet the needs of type of photos or am I bound to the set pages as they are? For example, is there flexability to have 5 of one type of page in the readybook, because I perfer the particular template of that page?
Hi Carmen!
Some Readybook templates allow changes to be made to them and some do not. However, you should also be able to repeat certain templates found within the Readybook that suits your needs the best.
Hope that helps!
hi. i downloaded the ‘early reader’ readybook since it was under the imagewrap & softcover category. however, when i tried using it, it only allows me to make the imagewrap type. i have bought a voucher for a softcover during your easter sale and i was hoping i could use it on this readybook.
Hi Joy! At the time of downloading the Readybook, you are given the option (via a drop down menu) to choose the Medium Softcover version where it says Book Type. You can find that option at this link: http://photobookamerica.com/readybooks/item/early-reader
If you would like to create the Softcover book, please go back to the link provided and choose the Medium Softcover option and redownload the Readybook.
Hope that helps!
Hi, i couldn’t change the readybook product? from a large landscape to a softcover photobook.
Hi Rebecca and lilly, unfortunately, Readybooks are pre-designed templates, specifically for the size stated in the website. Their sizes are not flexible. Hope this helps.