The Perfect Christmas Present Wrap
By Soff on
Thursday, 3rd December |
Comments

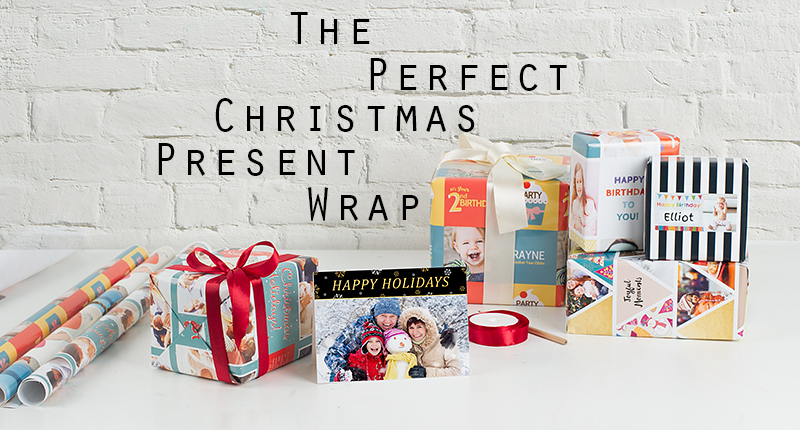
With the introduction of our new personalizable Wrapping Papers, we figured, “Hey… Our boss is surprisingly awful at wrapping gifts. Let’s get a how-to going on already!”. Move away from clumsily packaged Christmas presents and welcome an era of neatly wrapped gifts of love, thoughtfulness and sincerity.
We think that the presentation of your gift ought to given just as much thought as your gift. It’s all part of the experience for your loved ones. So here’s a recipe to get that perfectly wrapped Christmas present. The step-by-step below is for single presents only.
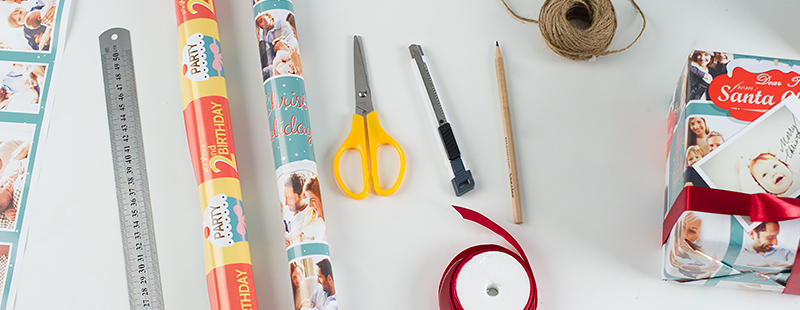
What we’re going to do first is determine how much Wrapping Paper you’ll be needing for your gift. Start by spread your Wrapping Paper face down on a wide, clean and flat surface. Place your gift on the center and pull one side of the paper over right to the top edge. This’ll enable you to better estimate how much more you need. Cut as necessary.
It’s fine to have a little extra by a half inch but too much and you’ll have lumpy sides. Use the design on your Wrapping Paper (if any) as guide to further help you when estimating and cutting.
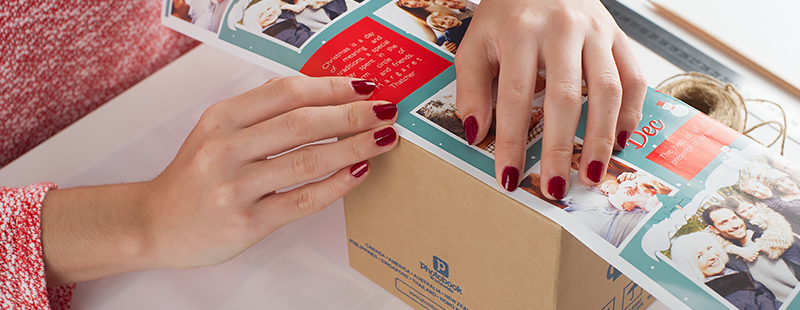
*Place your present in a box if it’s soft or odd-shaped.
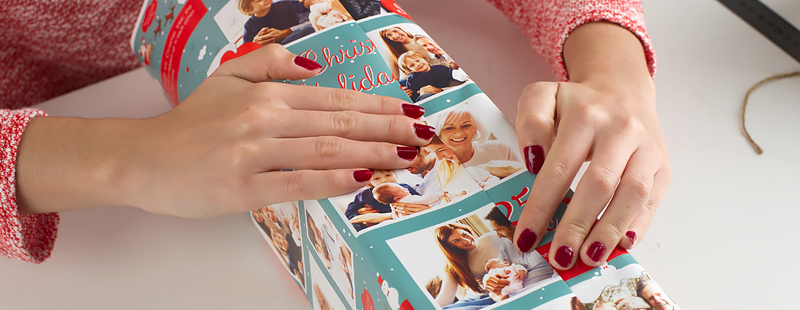
Place your gift top down in the center and bring one side over to the center, taping it slightly just to secure it in place. Then bring in the opposing side over and tape that into place too. If it gets a little over, fold the edge inwards just a bit. Use double sided tape instead is good if you want to avoid showing tape. Be sure you’re sticking it onto the wrapping paper and not the box or gift.
*The inwards folded edge gives the edge a firmer fold and nicer feel.
*Be firm and keep the wrapping snug.

Start from one side then repeat to the next. Bend the sides inwards so that it meets in the middle and fold along the sides accordingly. This should give you two triangular folds. Cut off any excess paper. Ideally it should slightly touch, because if it’s too far apart then you’ll be left with a rather unsightly gap or if it’s too much then you’ll be left with either wrinkles or lumpy sides.
Then fold the top bit downwards and bottom bit upwards, with the bottom overlapping the top. Secure it in place with tape. Turn it over so your gift now is right side up.
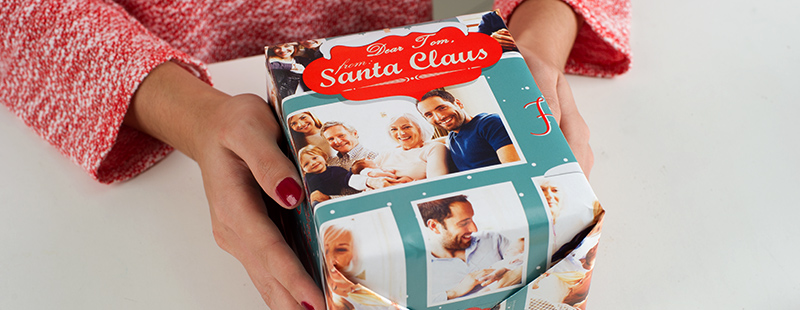
Your gift is now all wrapped up, and all that’s left now is to adorn it with a little decor.
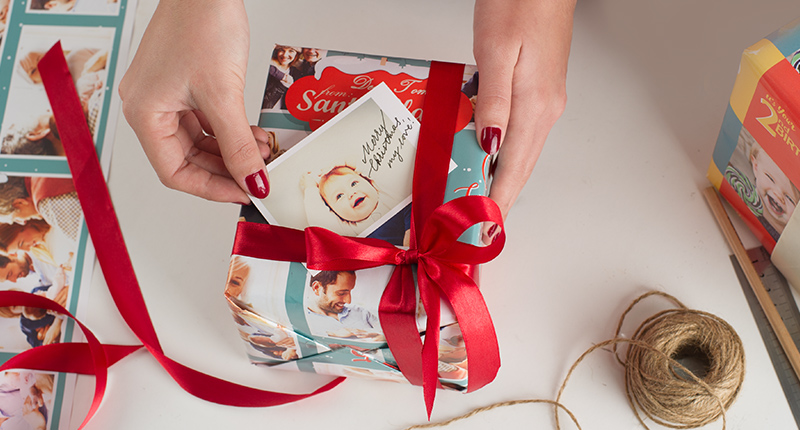
Rather than tying a bow using ribbons, try out something a bit more fresh by using sisal rope, coloured yarn or brown strings. They’re easily available, easy to use and does a great job in completing the look of your present.
Give it an added touch of attention too as you include in a Greeting Card or an Insta Card.